Did you know that your laptop or pc can actually eliminate distractions for you? Or that you can shut-down your computer with a single swipe?
This week, we’re highlighting our 5 favorite hidden laptop features. From increasing your productivity to customizing your start menu, we’re going to lay out exactly how to enable these awesome capabilities on your PC step-by-step. You won’t want to miss this!
- Initiate Dark Mode
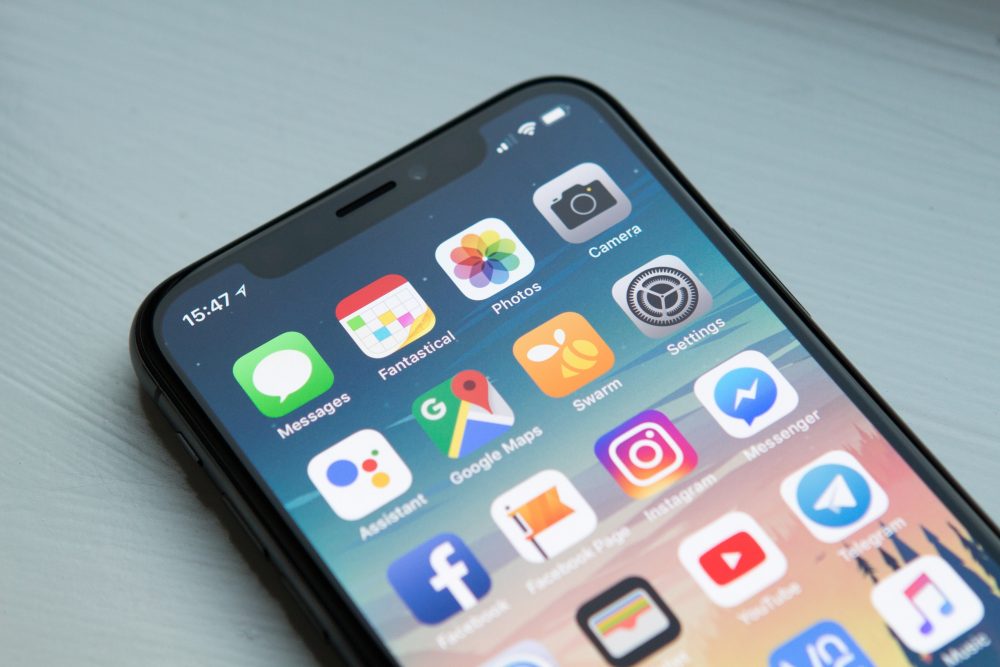
More and more companies like Google® , Apple® , & even Instagram™ are recognizing the need for a “Dark Mode” display. Windows has also jumped on this trend with their Windows 10 OS. Since so much of our lives can involve staring at bright screens, Dark Modes were introduced as a way to decrease the amount of strain we are putting on our eyes. These modes can also extend your laptop’s battery, as it doesn’t have to support keeping such a bright display lit.
Asking around, we were surprised to find out tons of PC users knew about Dark Mode but didn’t know how to actually enable it on their laptop. The set-up for this display style is relatively simple!
How to Set Up Dark Mode on Your PC:
- Open your “Settings” menu.
- Select “Personalization,” then “Colors.”
- You will see a section labeled “Choose My Color.”
- Select “Dark.”
Dark Mode has now been initiated! Your display should now be much darker. This mode is incredibly helpful, especially for those who are on their laptops for extended hours. Whether you’re a gamer, a businessman, or a college student just trying to study, we strongly recommend checking out this display mode. Trust us– your eyes will thank you!
- Create Your Own Custom Start Menu
Remember the “Start” Button? Whelp, it’s all grown up and more beautiful than ever before. The Windows 10 start menu now features colorful tiles and a much more extensive menu. When you first get your Windows 10 laptop, you’ll notice the new start menu is pre-populated with commonly used applications and functions.
Many people don’t know it, but this newly revamped Start Menu isn’t one size fits all. Windows knows that everyone has different go-to applications. That’s why Windows 10 allows you to customize this menu however you’d like.
How To Customize Your Start Menu:
- First, press the “Windows Button” at the bottom of the screen.
- Select “Start.”
- Hit “Settings,” then “Personalization.”
In the personalization menu, you can create your very own customized start menu; one that emphasizes the functions and applications most important to you. And if you decide you don’t like change after all, you can still go back to the old start menu! Just go to the same menu and turn off all of the buttons, but leave “Show App List In Start Menu” on. You should be able to see the older version.
- Shut Down Your PC with One Swipe
Did you know you can create a shortcut to shut down your computer with a single swipe? This is a really awesome trick, and one few people know about. Fair warning: it requires a teensy bit of coding, but is totally worth it!
Wow your friends and family with your mad coding skills and block prying eyes instantly by adding this nifty little feature to your PC.
How to Initiate Swipe Shut-Down:
- Right-click and select “New”.
- Select “Shortcut.”
- When the window appears, copy the code below & paste into the text box.
Code: %windir%\System32\SlideToShutDown.exe
- Select “Next.”
- Name the file (something like “Slide Down” or “Shut Down,” ideally).
- Press “Finish.”
- You should now see an icon on your home screen.
- Right-click it and select “Properties.”
- Under the “Shortcut” tab, press “Change Icon,” then “Ok.”
- Select a fitting icon for this shortcut.
- Hit “Ok,” “Apply,” then “Ok” again.
Now that the shortcut has been created, simply press the icon to initiate the swipe shutdown feature.
- Share the Love with Nearby Sharing
If you know any Apple users, you may have heard that one of their favorite features is “Airdrop,” which allows for effortless file transfers between devices. This has left many Windows users envious of their Apple devoted friends.
Well, we have some great news! Windows 10 didn’t miss the train on this fun sharing feature; it’s just that many of its users don’t know that it exists! That’s why we wanted to make sure you knew how to use the Nearby Sharing capability. It’s super handy!
How to Use Nearby Sharing :
- First, make sure you have installed the latest Windows update.
- Next, you’ll need to turn on Nearby Sharing on your device.
- To do this, go to your System Settings menu from your laptop’s taskbar, and navigate to “Shared Experiences.”
- Next, go to “Nearby Sharing” and make sure your Bluetooth is turned on.
- Right-click whatever file, link, photo, etc that you would like to send.
- Select “Share,” then choose the device you would like to share with.
- Once the other user has accepted your invitation, they can select ‘Save’ to save the file onto their own device.
Now you can quickly & easily share to multiple devices with the click of a button. Take that, Airdrop!
- Stay Focused with Focus Assist
Now that work-from-home looks like it might be sticking around for a bit longer, it’s important to stay focused. And sometimes being home while you’re trying to work can make it too easy to get distracted. With work-from-home scenarios on the rise, it’s a really great time to get to know Windows’ handy dandy distraction eliminator, Focus Assist.
Focus Assist mutes all notifications that might cause you to lose concentration from the task at hand – whatever that may be. This feature is really customizable, so don’t worry—enabling it doesn’t take you “off the grid.”
To Enable & Customize Focus Assist:
- Select the bubble icon at the bottom of your screen.
- You should see an option labeled “Focus Assist.”
- Select the icon and the feature will be enabled. To disable, click it again.
- To set which notifications are allowed to come through when Focus Assist is enabled, open the Action Center on your laptop and select “Focus Assist.”
- A small menu should appear, where you can choose “Priority Only” (a setting that allows notifications from prioritized apps to come through) or “Alarms Only” (no app notification will come through, but alarms that are set will still come through.)
- You can customize what applications are considered priorities or allowed through when you have enabled Focus Assist.
- To do this, open Focus Assist from the Start Menu, then select “Focus Assist Settings.” Here, you’ll find all of the customization options available for the Focus Assist feature.
That’s a WRAP, folks– thank you for checking out our top 5 lesser known laptop features! For tips geared towards Apple lovers instead, check out our post on hidden MacBook features we think you’ll love.
With how often we use our computers, it’s always nice to find new features that make life a little easier; or even just make our devices a little more personable. We hope that our top 5 list introduced you to some new capabilities that you never knew you had, but now couldn’t imagine living without.
For the latest, most exciting & informative tech news around, be sure to subscribe to our email list– or check out the rest of our blog here.