How to Change Your Apple ID Email
What You Need To Know Before You Change Your Apple ID Email
While your Apple ID is supposed to making your life easier by connecting multiple accounts for a more seamless experience, some users have trouble finding and linking the correct emails they want to their accounts. With more and more people working from their home offices and utilizing company software from their bedrooms, it’s more important now than ever to have your email accounts set up properly and make sure you are protected for all emails and devices you use them on.
This blog covers how to easily change your Apple ID email, link your Apple ID to new email addresses, and offers tips on getting through some of the issues you may come across during setup.
One note before we start: if you’re currently using an Apple email address (like JohnDoe@iCloud.com), you will not be able to change your Apple ID.
However, don’t lose hope– you still have options. Skip to our last section for a step-by-step.
Verify Access To Linked Apple ID Emails
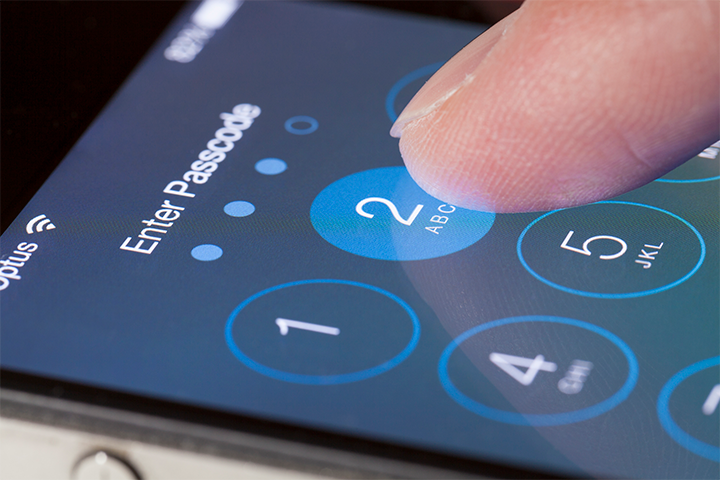
Before you start, it’s important to verify that you already have access to login to the email account you are trying to link to your Apple ID account. Remember when accessing your Apple ID that it will have its own separate password from the email addresses you linked to it (other than the exception of an icloud.com email address that is directly linked).
This means that while your accounts may have the same account names, those are still separate. Meaning you’ll have to keep track of passwords for both accounts if the passwordsare different (which is a good idea, for cyber-safety reasons)!
While you’re going through the Apple ID setup process, Apple will send a verification email to the email address you were trying to link to it. Make sure to check the email of that account for the verification email sent by Apple and follow the steps listed within (if you haven’t already).
How to Add a Third-Party Email to an Apple ID with an Apple Domain
Changing a third-party email is relatively easy, and can be done in a few short steps.
To change an Apple ID email to one that you’re already using:
- Login on the Apple ID page with the email currently being used at https://appleid.apple.com/
- Navigate to the right side of the page, then click the button that says “Edit.”
- Now you will go to the center of the page below, where it says “Apple ID,” and click on the link for “Change Apple ID.”
- Enter in the new email address you want your Apple ID to be linked to. On the form that follows, enter all the information required, then hit submit to confirm the new email you would like to link to your account.
- Check your email inbox for a verification email sent by Apple. Click the link in this form to activate your account.
Is your email address is already being used with an Apple ID?
It’s possible that in the past, you may have made an old Apple ID account with your email and then forgotten about it. Whoopsie! Things like that can happen when we set up new devices or when we haven’t used a certain email in a long time. Since Apple ID has a “one Apple ID per email address” rule, you won’t see the option to change your email, as those are permanently linked.
What To Do If You Don’t See the Option to Change Your Email Address
If you are not seeing the “Change Your Email” option when logging into your Apple ID account, it is most likely you have an email ending in iCloud.com that is already linked to it.
In this case, unfortunately, your email will not be able to be changed, as the iCloud email is permanently linked to your ID. If that’s the case, you’ll most likely want to set up a new iCloud account; one that uses the new email address you want your iCloud ID to be linked to.
To Set Up a New iCloud Account:
- Go to the login form on appleid.apple.com.
- You’ll see a link that prompts you to “Create yours now.” Click this link to start a new account creation form.
- Follow the steps it gives within the form, using your current email address.
- Login to the email account (or accounts) you are linking, then click the verification emails from iCloud to verify your address.
- Go back to your Apple ID account, then login again using your new Apple ID.
You should be ready to go again, with a fresh new account!